I
seem to have become obsessed with alcohol markers and all they can
do. I remember a couple of years ago I noticed a lot of people
talking about something called a Copic marker. I didn't pay real
close attention and then when I noticed them in the craft store and
noticed their price tag I totally put them out of my mind. In case
you aren't familiar with Copics they usually run between $5 and $10
per pen and they come in an entire rainbow of colors. (over 300
colors)
Then
about a year ago I happened upon the YouTube channel of a very
talented lady, The Frugal Crafter. Her channel showed up in the ones
suggested by YouTube for me and I decided to take a look at what she
had to offer. I was hooked immediately she is personable, fun, chatty
and very talented. Among her videos she has some on the topic of
alcohol markers such as Copics, Spectrum Noir, Pro Markers and the
like. She explained what they are and how they work and then she
showed how to use them. Wow! I knew I wanted to try these things. She
even explained that the simple Sharpie marker and the Bic Mark-its
are also alcohol markers and all the brands can play together.
Anyway
back to topic, I decided that I wanted to give these markers a try.
So on my next trip to Joann Fabric I noticed that my store carried
the Spectrum Noir brand of markers. The regular price was $15 per
package of 6 pens and I just happened to have a 40% off coupon in my
hand. Well, I couldn't walk away from that one now could I?
I
decided to go with the package that was labeled as the Essential Set
because it included the Blender Pen along with 5 other markers- a
couple that are pale brown (Earth Brown family) a couple in the Blue
Grey family and also a True Black. I figured that since I could use
my Sharpies and Bic Mark-its this would allow me to try some of the
things I had seen on the videos. Kind of get my feet wet. I also
knew from what I had seen that I really wanted a Blender pen to see
how it worked.
I
got those pens home and was hooked immediately! They are so fun to
play with and for me any way they really get the creative juices
flowing. The next several of my Joann's coupons went toward the
purchase of more sets of these markers.
Let's
take a moment and talk about how the markers come. You can buy 12
different sets of 6 pens each and these are available in craft stores
and online in many places. Most of the sets are color family based-
Blues, Browns, Cool Greys, Greens, Pinks, Purples, Reds, Turquoises,
Yellows, and Warm Greys. In addition there are the Essentials set
that I first bought and also the Pales set which has a lot of the
skin tone colors in it. There are no repeats of pen colors between
any of the sets so you won't end up with a lot of one color. In each
of the color sets you get 3 warm tones and 3 cool tones in a range of
light, medium and dark to give you a lot of blending options.
These
12 sets are the core of the system but if you want to round out your
set you can also get 4 sets of 24 pens each: lights, pastels,
brights, and darks. These are a little harder to find, I had to order
mine online. After I had purchased most of the 12 packs locally I
bit the bullet and bought the rest of the markers for an early
birthday present to myself!
In
all there are 168 wonderful, beautiful colors to play with.
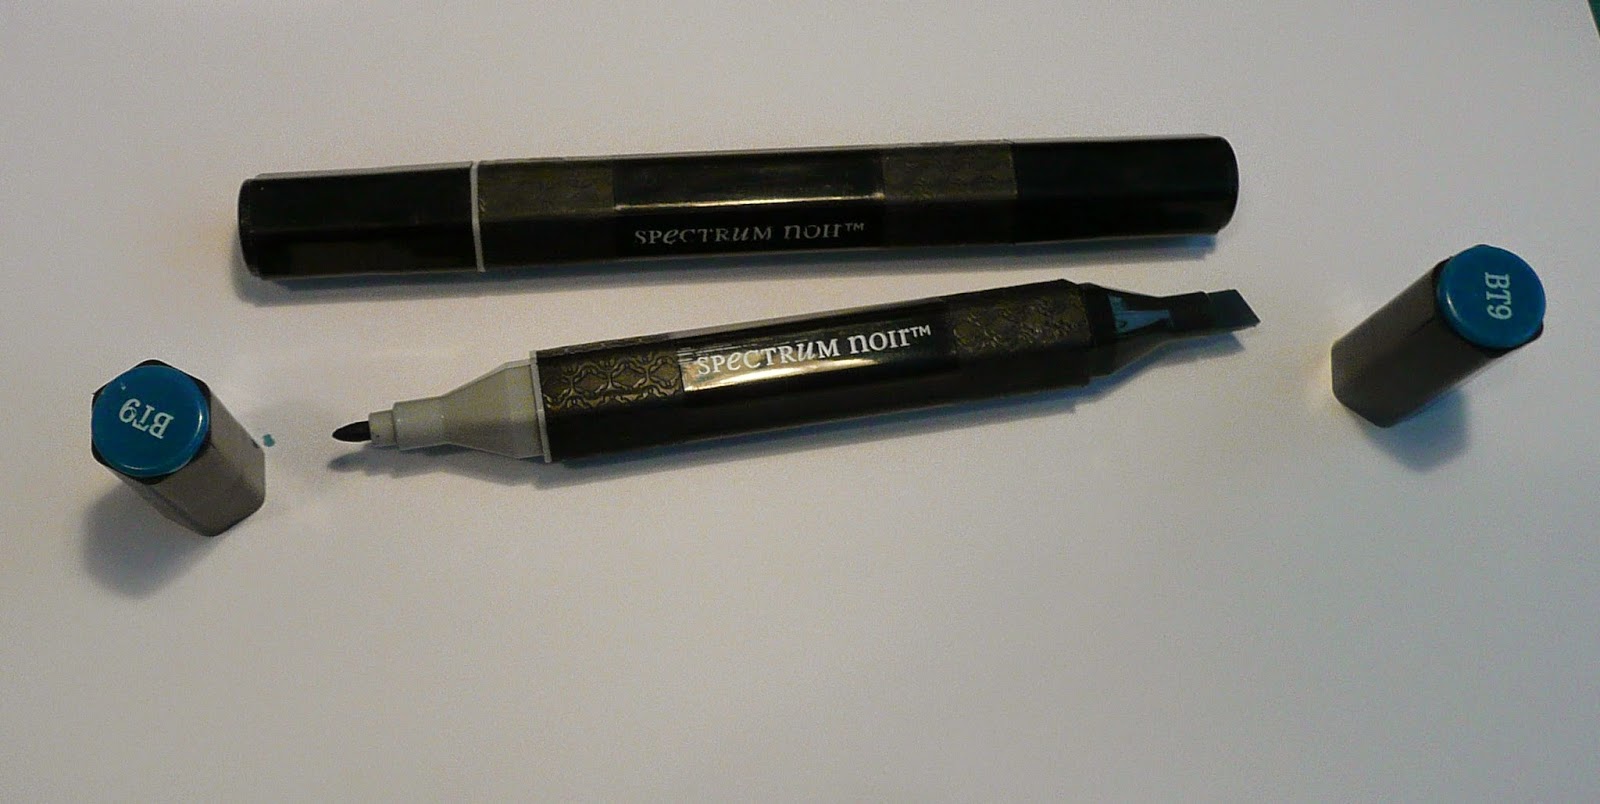
These
markers have a chisel end and a bullet end to make coloring easier
and they are all refillable with ink that can be purchased online. If
you have the newer line of pens you can also exchange one of the
chisel nib for a brush nib if that is your preference.
The
beauty of an alcohol marker is how the colors blend along with the
vibrancy and translucent quality of the colors. Since they are
alcohol based they can go over many surfaces too not just paper.
I
have been busy learning to use my markers and all the things they can
do. Hopefully in the future I can put some tutorials on this blog of
some of the things I am learning.

One
of the first things I purchased to go with my markers in addition to
paper was a storage box. How you store these markers is really
important. You really want to store them so that they lay
horizontally so that neither end dries out. I knew I wanted mine to
be easy to move around with so I could work with them in any room of
the house or to take them out with me. I found a pretty cool box for
them that has room for more stuff in it and has plenty of room for my
paper that I use with them too. It has flat sides so I can lay it
down to properly store my pens, it has a handle on the lid for easy
carrying, a locking lid so it stays on. I can set the box up nearby
to where I am working with the lid off and access all my pens from
the top and when do I can put it away easily on its side.
Now
off to learn more about these wonderful markers and the cool things
they can do!!
No comments:
Post a Comment